Last month, you learned 13 Easy Ways to Take Better Photos with Your Phone. The tips below apply to shooting with a DSLR. I started as a frustrated novice photographer just a few years ago. Here, I break down technical terms and techniques to make travel photography as enjoyable to you as it is to me. It doesn’t have to be hard! Just follow these seven tips to elevate your photography from amateur to pro.
Frame Your Subject with the Background
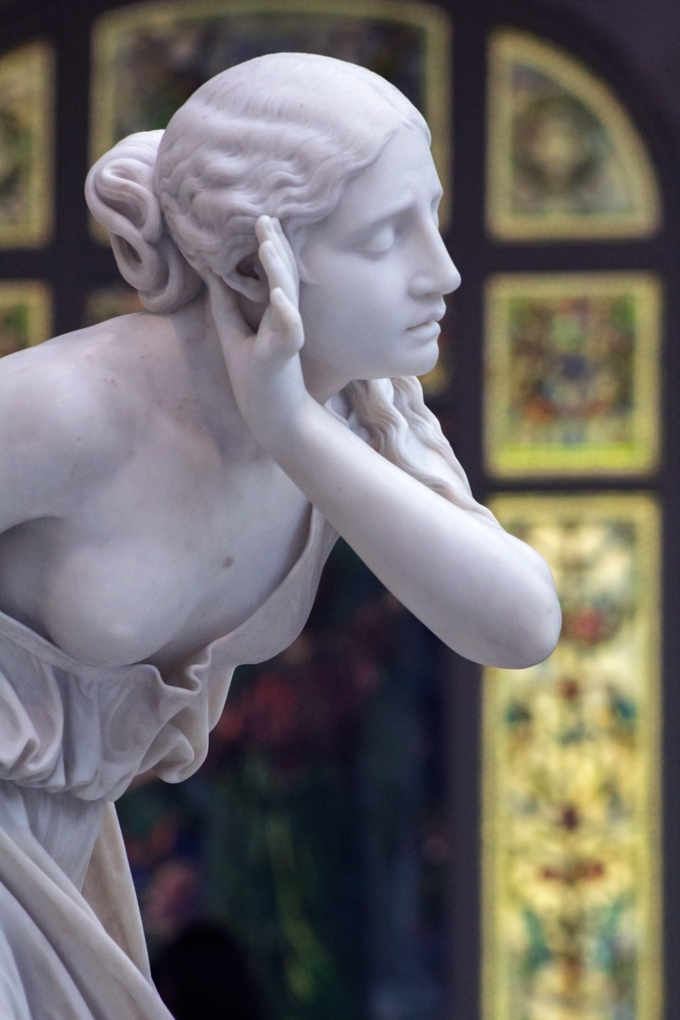
See how the background arch creates a frame around the statue at The Met above? Use the background to frame your subject. If you’re shooting close-up, pay attention to the shapes in the background. Use those shapes to frame your subject. This works best if your subject is far from the background.
Force Perspective
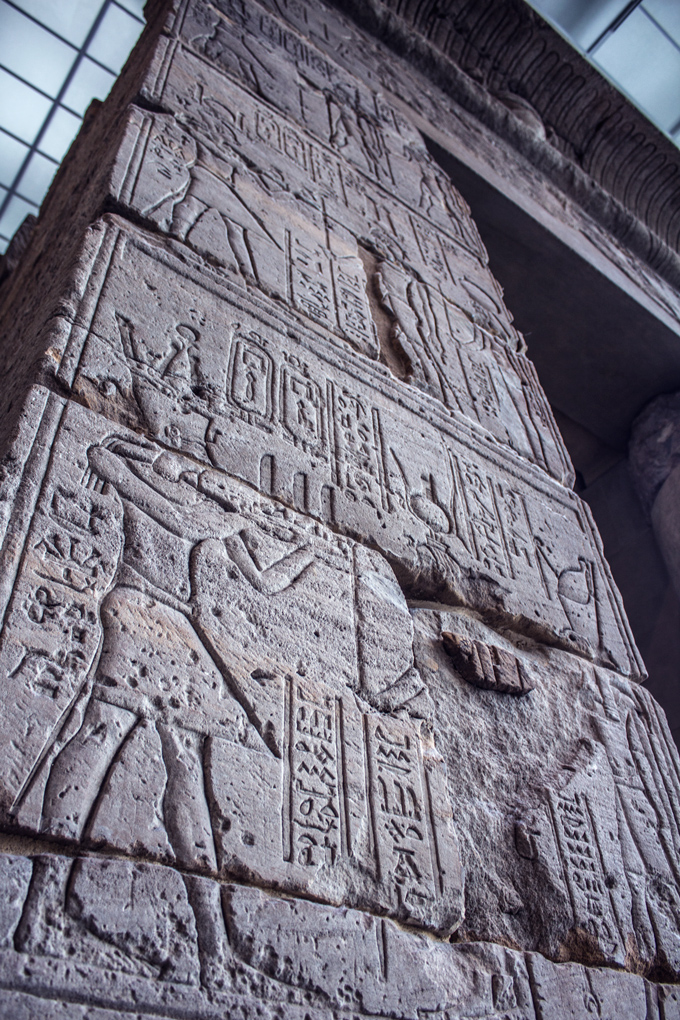
Try shooting from a very low or super high angle to create interesting perspective in your photo. This is called forced perspective. I learned this during my photography class at The Met. This technique works great for architecture and landmarks.
Apply the Rule of Thirds
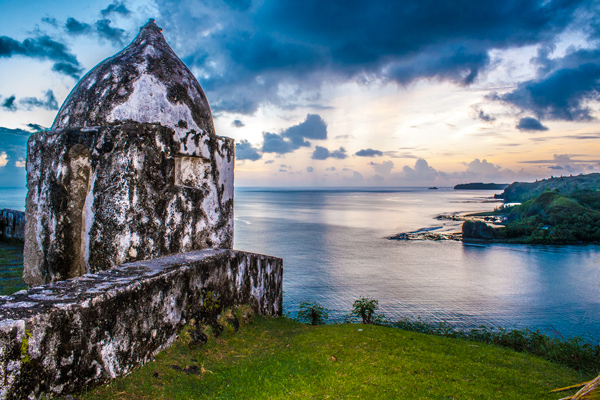
Divide your frame in to three sections and put your subject in the far left or far right section. Now you’re shooting like a pro!
Use Bokeh

Bokeh (bo-kay) is the blur in the out-of-focus parts of an image. In layman’s terms, it’s those pretty dots in the background. It took me months to figure out how professional photographers were producing that beautiful blur. Let me tell you, it’s all about the lens! Assuming you’re shooting with a DSLR, you will need a lens with a low f-stop — 2.8 or lower. I started off with a Canon 55mm f/1.8 prime lens (prime lenses don’t zoom). Now I use a much larger piece of glass that zooms, a Sigma 24-70mm f/2.8.
Once you’ve set your camera to the lowest f-stop, set your focal point (the point in the frame you’re focusing on — top, right, bottom, left). To get the most bokeh, your subject should be several feet from the background and you should be several feet from your subject and have the lens zoomed in. (I’ll discuss depth of field in a future post, so stay tuned!)
Once you’ve mastered bokeh, play around with light sources and objects in the background to get the desired effect.
Add Whitespace
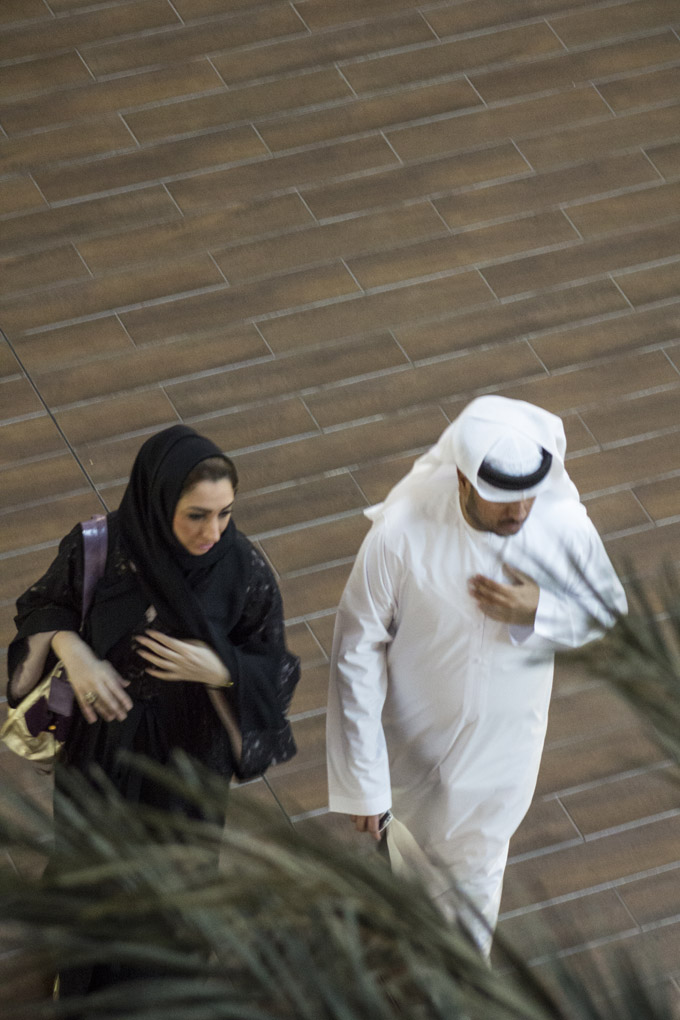
Whitespace is the negative or empty space in a composition (it doesn’t have to be white!). As well as being visually arresting, it makes your subject stand out even more. Apply the Rule of Thirds with whitespace and voila! gorgeous images every time.
Capture Movement
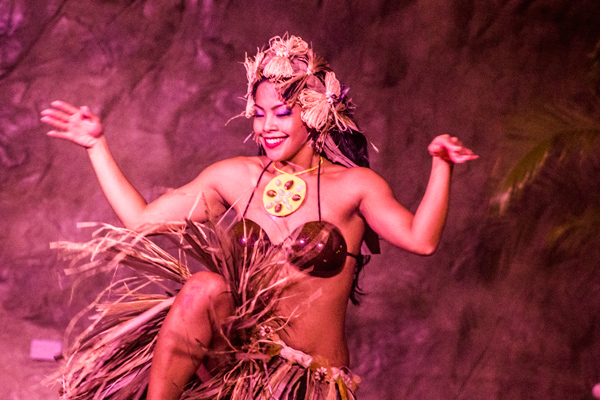
This is where a little blur is okay! If you’re shooting action or in low light, use a tripod to reduce blur. Set your focal point to the middle of the subject (face or chest). Increase your ISO (film speed) as needed.
Snap a Candid Moment
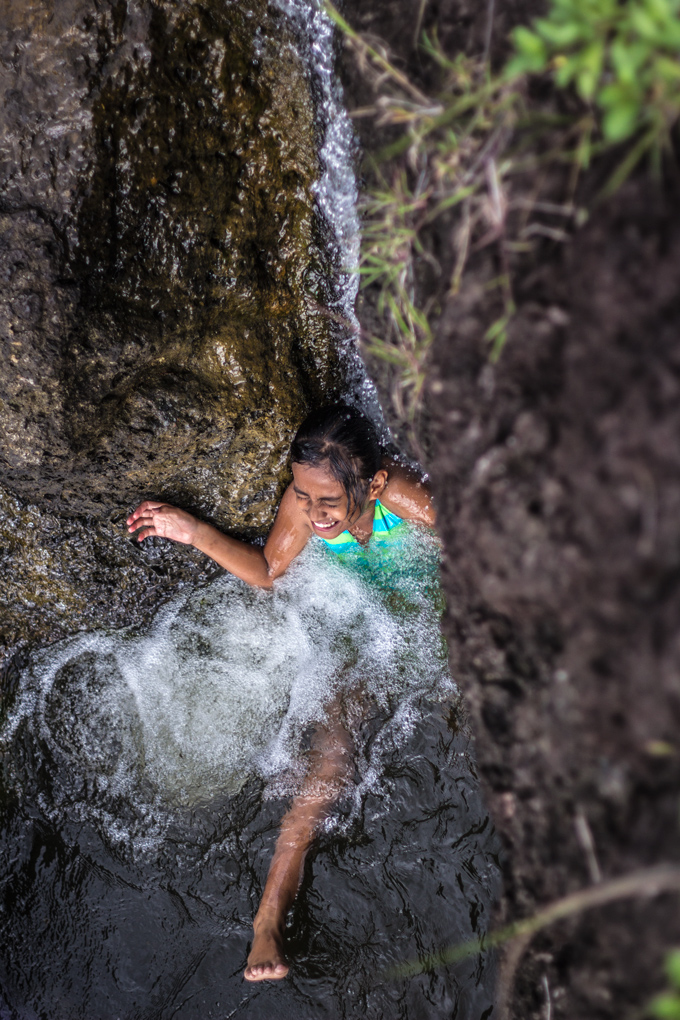
The best way to do this is to park yourself somewhere and shoot rapidly. I call it shooting like a sniper. Keep yourself out of the way of the action and the subject to capture a candid moment or an honest facial expression.
Comments 5
November 21, 2014 at 9:21 pm
These are all interesting tips for a newbie! Thanks for sharing 😉
November 23, 2014 at 9:10 am
Great stuff! Thanks for explaining! Des | http://theanti-tourist.blogspot.com
November 24, 2014 at 1:21 am
Wonderful tips, I am interested in playing around with some new lenses this year!
November 25, 2014 at 9:26 pm
As a photographer I could say that these are very helpful tips 😀
March 23, 2015 at 1:54 pm
Awesome tips!